Introduction
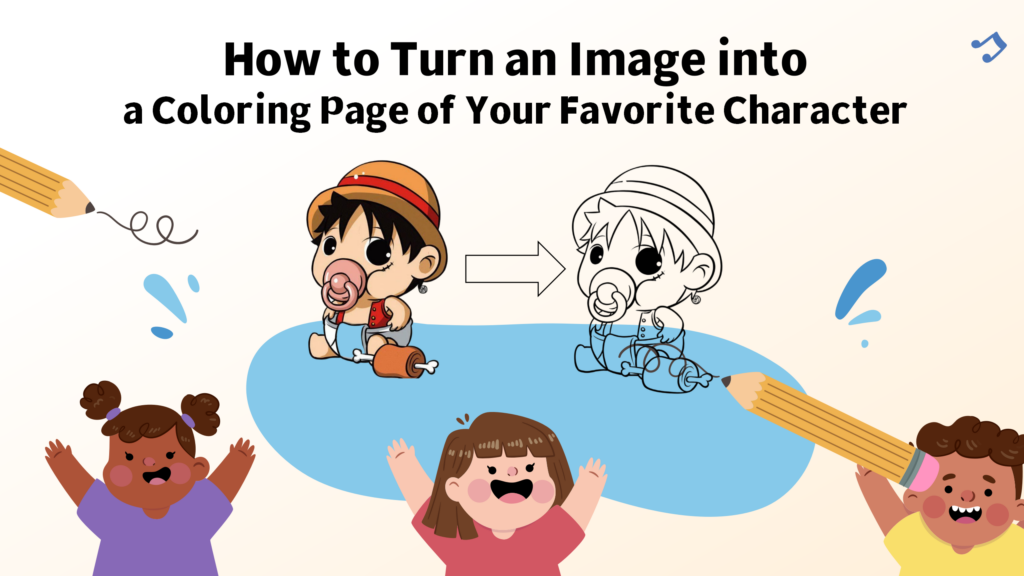
In today's fast-paced digital age, the way we entertain ourselves, create, and commemorate memories has changed dramatically. More than ever, we seek personalized and interactive experiences. Against this backdrop, turning favorite characters, cherished photos, or even original artwork into coloring pages has become an increasingly popular form of creative expression.
So how can we turn an image into a coloring page? This guide explores a range of methods, comparing traditional image editing tools with modern AI-powered solutions. With clear, step-by-step instructions, you'll gain a complete understanding of the process and the skills to create your own unique coloring pages with ease.
Methods to Turn an Image into a Coloring Page
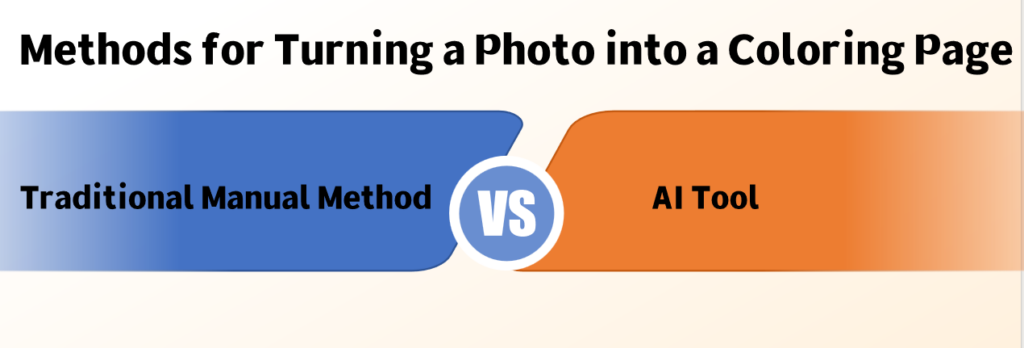
When you want to turn an image into a coloring page, there are two primary methods available :traditional manual processing and AI-powered automatic generation. Each approach has its unique advantages and target users.
Method 1 :Traditional Manual Method
This method typically relies on design software (such as Photoshop, Procreate, etc.) or drawing skills, using manual techniques like tracing, outlining, and desaturation to transform an image into a coloring page. This approach is better suited for users with some drawing experience who are familiar with image editing software. This method allows for more precise control over the image and provides greater customization options for the final coloring page.
1.1 Using Professional Image Editing Software:Step-by-Step in Photoshop
Adobe Photoshop, as a powerful design software, can be used to convert images into coloring pages. This process typically involves several key steps:
- Initial Setup:Open your image in Photoshop and create a duplicate layer to preserve the original. Use the shortcut (Ctrl+J).
- Convert to Black and White:Click on "Image → Adjustments → Black & White" in the menu bar, or use the shortcut Alt+Shift+Ctrl+B to convert the image to black and white.
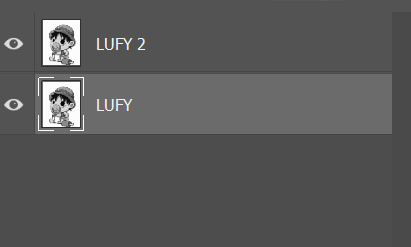
- Duplicate Layer :Click "Layer → Duplicate Layer" in the menu bar. You'll now see two layers in the layers panel - we'll work with the newly duplicated layer.
- Invert Colors: Click "Image → Adjustments → Invert" in the menu bar, or use the shortcut Ctrl+I. The image will now look like a photo negative.
- Set Blend Mode: In the layers panel on the right, change the blend mode to "Color Dodge". The image on the canvas will now appear completely white.
- Apply Gaussian Blur: Click "Filter → Blur → Gaussian Blur" in the menu bar. In the adjustment dialog that appears, adjust the radius value to achieve the best effect. A radius of approximately 1.3 pixels is recommended, though you can fine-tune based on your specific image.
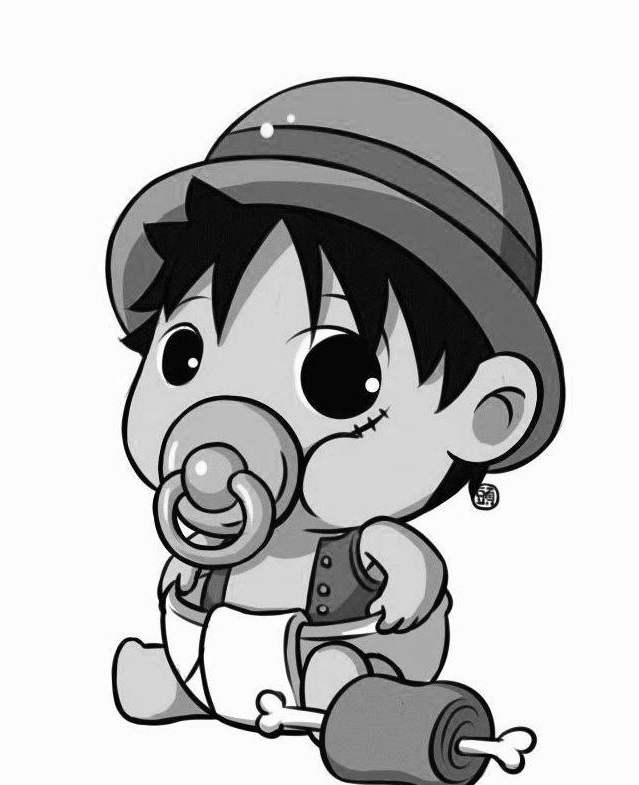
- Complete the Effect :After processing, click OK. You'll see clear outline effects that are perfect for use as coloring page templates
- Final Optimization: If needed, use the Eraser tool to remove unnecessary lines and the Brush tool to strengthen important outlines, ensuring clean and continuous lines.
- Save and Export: Save the completed coloring page as a high-resolution PNG or PDF format for easy printing.
1.2 Hand-Drawing and Tracing Techniques
For those who enjoy hands-on creativity, traditional drawing and tracing methods offer more than just image conversion—they provide a deeply personal artistic experience that reflects individual style and creative expression. While these approaches are more time-consuming than AI tools, this deliberate process is precisely what infuses each coloring page with unique personal touches and emotional investment.
Light Box Tracing Method:
Light box tracing stands as the most classic and accessible traditional conversion technique. The process involves placing your source image on a light box or against a bright window, then covering it with drawing paper. The transmitted light allows you to clearly see the image outlines beneath, enabling precise tracing of the main contours.
This method works particularly well for images with relatively simple lines and high contrast, such as cartoon characters, basic landscapes, or geometric patterns. An important consideration is selecting drawing paper of appropriate thickness—paper that's too thick will block the light transmission, while paper that's too thin may tear easily during the tracing process.
Direct Hand Drawing Method:
Once you've developed solid drawing fundamentals and observational skills, direct hand drawing becomes an exciting option. This approach requires careful study of the original image's composition, proportions, and detailed features, then reinterpreting and simplifying these elements on blank paper to create suitable line art for coloring.
The greatest advantage of direct hand drawing lies in its creative freedom. You can adjust line weights according to personal preference, simplify complex details, or even add creative elements not present in the original image. This method is particularly rewarding for creators with artistic backgrounds, as it allows for the highest degree of personal interpretation while maintaining the essence of the source material.
Method 2:Turning a Photo into a Coloring Page with AI Tool(step by step)
When you need to turn an image into a coloring page quickly, AI technology stands as a significant milestone in modern technological advancement, providing unprecedented convenience to users who want to turn an image into a coloring page. These advanced tools make it easier than ever to turn an image into a coloring page with professional results.Regardless of users' technical expertise or artistic background, everyone can achieve professional-grade conversion results through AI tools.
The market has witnessed the emergence of numerous excellent AI image-to-coloring-page tools. By gaining a deep understanding of these tools' features and capabilities, users can make informed decisions based on their specific needs.
Step1 :Choose your favorite tool
Mimi Panda
Mimi Panda provides a solution for turning images into coloring pages, featuring six different coloring page styles and adjustable detail retention (20%-100%) to create pages suitable for different difficulty levels. The platform requires user registration and offers 4 initial credits for new users, with subsequent usage requiring paid subscription plans, and the registration requirement may limit accessibility for some users.
ColoringBook AI
ColoringBook AI features a second-generation model with improved conversion accuracy, facial recognition protection technology for portrait processing, and automatic background removal capabilities. The platform uses a credit-based system with 4 initial credits for registered users (2 credits per generation), monthly credit resets, and premium features like image upscaling and watermark removal available through paid subscriptions.
iColoring.ai
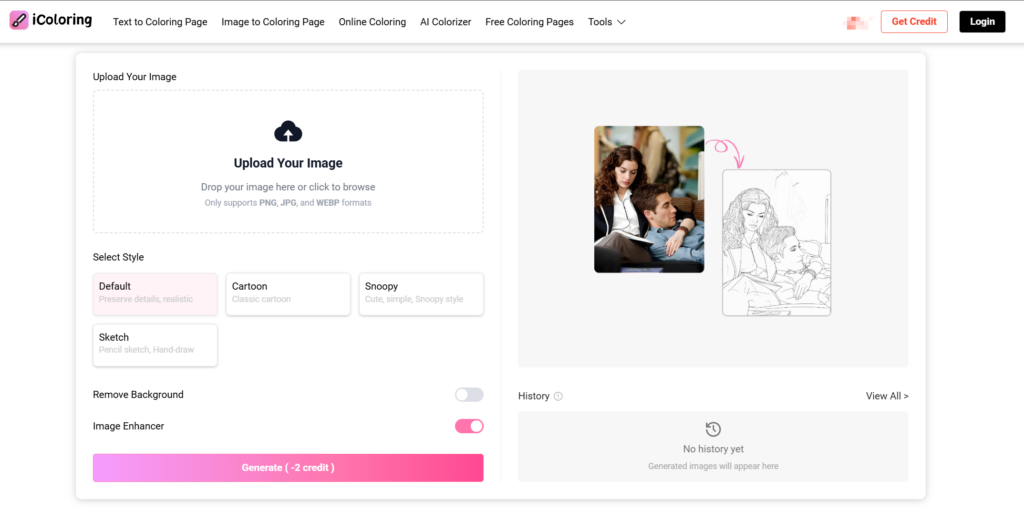
The iColoring.ai platform has also upgraded to a second-generation AI model, showing significant improvements in image recognition accuracy and conversion quality.
The platform provides four different conversion styles for various user preferences. iColoring.ai offers background removal and image enhancement features without additional fees, and generated images do not include watermarks.
iColoring.ai states that it follows privacy protection practices for user-uploaded images. The platform claims to prioritize user data security during the conversion process.
However, iColoring currently does not offer free batch generation of coloring pages, with more features yet to be explored.
Here's a comprehensive comparison of the top AI tools to turn an image into a coloring page.Each AI-powered tool has its strengths and optimal use cases:
| Features | Mimi Panda | ColoringBook AI | iColoring.ai |
|---|---|---|---|
| Style Options | 6 different coloring page styles | Standard conversion style | 4 conversion styles |
| Detail Control | Adjustable detail retention (20%~100%) | Fixed conversion accuracy | 2nd gen AI model, high recognition accuracy |
| Special Features | Multi-difficulty level generation | Keep faces unchanged, auto background removal |
Remove Background, Image Enhancer |
| Free Credits | 4 credits for new users | 4 credits for new users (2 credits per use) | 50 credits/day |
| Pricing Model | Requires paid subscription plans | Monthly credit reset, premium features require payment | No additional charges |
| Watermark | Paid removal required | Paid removal required | Automatic watermark removal |
| User Barrier | Registration required | Registration required, | Use it directly or log in to use it |
| Privacy Protection | Standard protection | Privacy features require payment | Privacy protection principles |
The choice between these tools often depends on your specific needs, technical comfort level, and the characteristics of your source images. Many users find that experimenting with multiple ai coloring page generator tools helps them understand which works best for their particular types of images and desired outcomes.
Step2 :Choose the Right Photo to Turn into a Coloring Page
Selecting an appropriate image is the crucial first step when you want to turn an image into a coloring page successfully. Whether you plan to use traditional hand-drawing methods or modern AI image conversion tools, the quality and characteristics of the original image will directly impact the final conversion results. Here are key factors to consider when selecting images:
Prioritize High-Resolution, Clear Images
Image clarity is the primary factor determining coloring page quality. Especially when using AI conversion tools, low-pixel or compressed images often result in blurred outlines and lost details, affecting the final output. Therefore, use high-resolution, well-focused original images. This is particularly important when processing detailed images like portraits or anime characters.
Simple Backgrounds Work Best for Conversion
Background complexity directly affects image processability. For AI tools, simpler backgrounds make extracting main outlines and objects smoother. Ideal images feature solid color backgrounds, light gradients, or minimal background elements. Conversely, if images contain complex background patterns like branches, clutter, or crowded scenes, AI algorithms may mistake these for main elements, interfering with outline extraction and creating chaotic coloring pages.
While complex backgrounds have less impact on traditional hand-drawing or manual outlining methods, they still require significant time for filtering and simplification. For photos with cluttered backgrounds (such as family photos under trees or street selfies), consider using background removal tools for preprocessing to improve final output quality.
Maintain Clear Subject Focus
Regardless of conversion method, ensuring the image subject is clear and properly focused is essential. Blurry or poorly focused images result in unclear edge lines for people or objects, making it difficult to extract clean outlines. This is particularly detrimental for drawing human faces, animal silhouettes, or cartoon characters with unique details, as blurred features or structures severely impact the coloring page's recognizability and visual appeal.
Step 3 : Upload Images to Turn Them into Coloring Pages Instantly
Now that you've selected your tool and the right image, it's time to convert it into a coloring page.
All upload steps are similar:
- Open the tool
- Upload your image
- Choose your preferred style and output format (typically PNG or PDF)
- Click generate
That's all there is to it!
FAQ

-
Q: What image formats work best when I want to turn an image into a coloring page?
A: The best formats are high-resolution JPEG or PNG images. PNG is particularly good because it supports transparency and doesn't have compression artifacts. Avoid heavily compressed JPEGs, GIFs, or very low-resolution images, as these will produce poor conversion results. For the best results, use images that are at least 1000x1000 pixels at 300 DPI if you plan to print your coloring pages. -
Q: Can I turn an image into a coloring page using copyrighted characters?
A: While you can create coloring pages from copyrighted characters for personal use, sharing or selling them may violate copyright laws. Many fan communities have established guidelines for sharing fan art that respects original creators. If you plan to share your coloring pages publicly or commercially, consider using original artwork or characters in the public domain. Always research the copyright status of characters before widespread distribution. -
Q: Why do some images convert better than others?
A: Images with clear subjects, high contrast, simple backgrounds, and good lighting convert most successfully. Photos with busy backgrounds, poor lighting, blur, or low contrast create conversion challenges. Character images work particularly well because they typically have clear outlines and defined features. Portrait-style images generally produce better results than landscape or abstract images. -
Q: Can I turn a photograph of a real person into a coloring page?
A: Yes, photographs can be converted into coloring pages using specialized tools to turn photo to coloring page, though they require different techniques than cartoon or character images. Real photographs often need more aggressive simplification to create clear, colorable areas. Consider privacy and consent issues when converting photos of other people, especially for sharing or publication. -
Q: What paper should I use for printing coloring pages?
A: Use heavier paper (at least 24lb/90gsm) to prevent bleed-through when using markers or wet coloring media. Bright white paper provides the best contrast for black lines. For colored pencils, slightly textured paper can provide better color adherence. Avoid very thin paper, as it may tear or allow colors to bleed through to the reverse side. -
Q: Can I turn an image into a coloring page using low-quality or old photos?
A: While possible, low-quality source images will produce less satisfactory results. Consider using image enhancement tools to improve contrast and clarity before conversion. Very old or damaged photos may require extensive manual cleanup after conversion. Sometimes, heavily stylized or artistic interpretation during the manual conversion process can compensate for poor source image quality. -
Q: How do I make my coloring pages suitable for different age groups?
A: Adjust complexity levels based on your audience. For young children (ages 3-6), use simple shapes, thick lines, and large coloring areas. For older children (ages 7-12), moderate detail with recognizable characters works well. For teenagers and adults, intricate details, smaller areas, and complex patterns provide engaging challenges. Many AI tools offer different detail level options to accommodate these preferences.
Conclusion
Through the detailed methods outlined above, we hope to help you fully master the process of turning an image into a coloring page—whether you're using it for family fun, educational purposes, or personal creative projects. We encourage you to unleash your creativity and share your finished coloring pages on social media. It's a great way to showcase your ideas and inspire others to join in the creative journey.
If you run into any questions along the way or have suggestions you'd like to share, feel free to reach out to us via our official email([email protected]). We'd love to hear from you and are always happy to offer support and assistance.
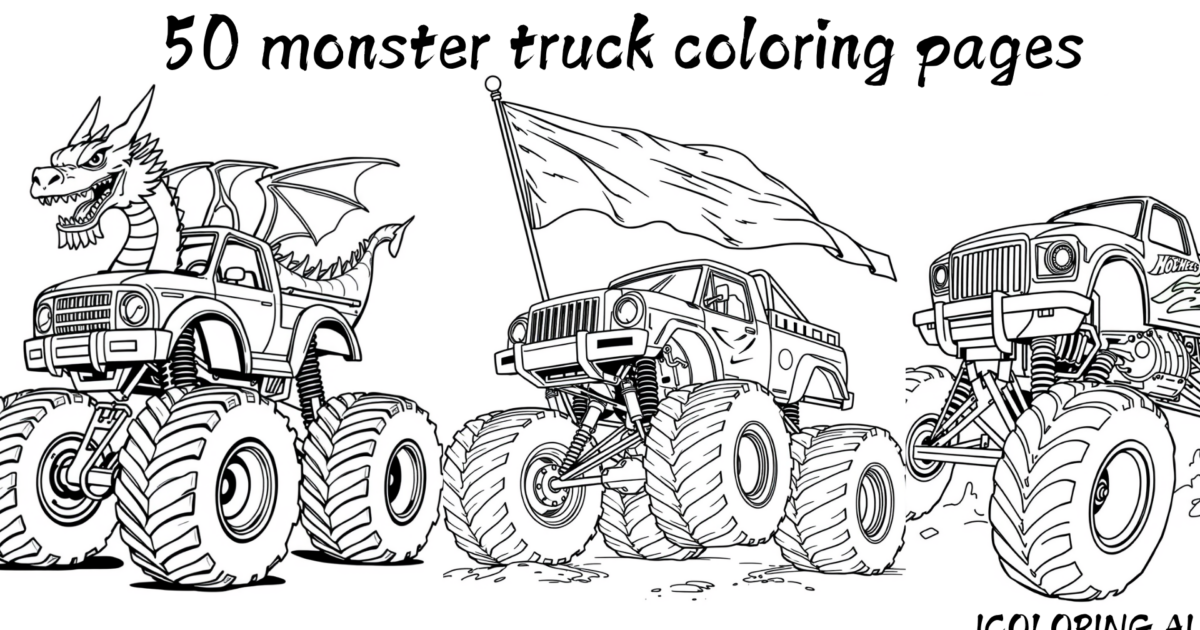
At the same time, we also provide ready-made character coloring pages, such as Minions, The Flash, and more. Let's bring new life to your favorite characters!